How to Compost at Home
A Step-by-Step Guide to Easy Home Recycling
Have you ever wondered how an old banana peel could become a superhero for your garden? Get ready to dive into the exciting world of composting! In this beginner’s guide, we’ll unravel the mysteries of composting, making it super easy for you to turn leftovers into nature’s own fertilizer. Get your green thumbs (and brown leaves) ready! Today we’re going to learn how to compost at home.
Why Compost at Home?
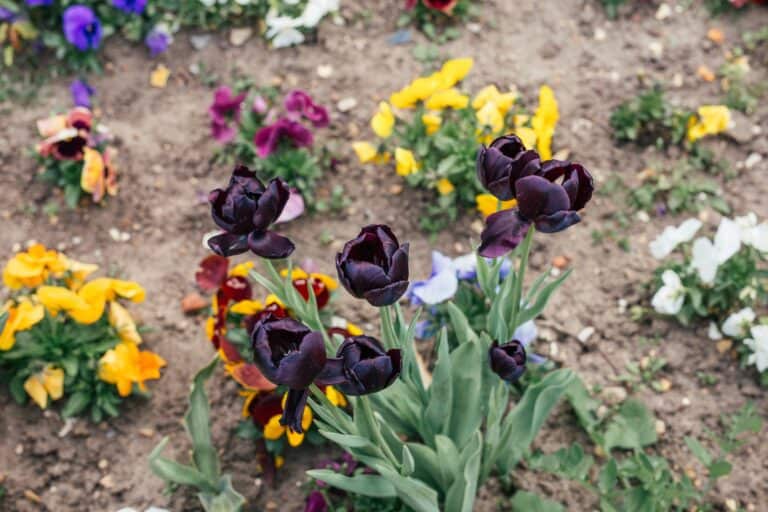
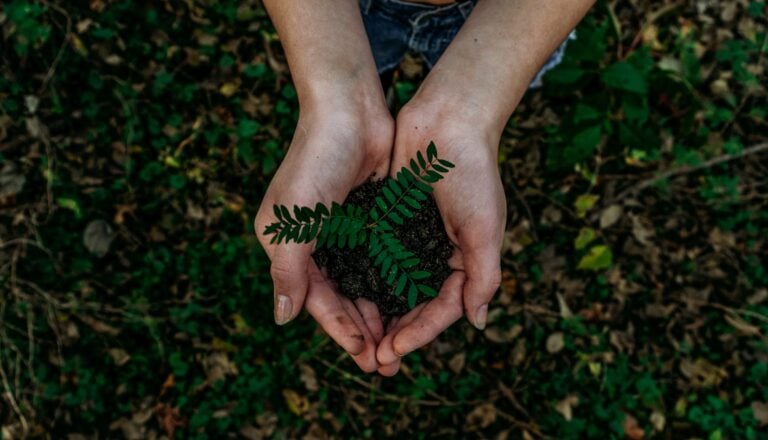
Composting is a way to turn your kitchen scraps and yard waste into a nutrient-packed potion for your plants. It’s nature’s ultimate recycling hack! Even the EPA recommends composting. Not only do you save on waste, but you also create incredible nutrients that transform your garden into a lush paradise. From old salad to coffee grounds, every little bit counts.
Getting Started
Getting started with composting is simpler than you might think. Begin by finding a suitable spot in your yard. No need for fancy equipment – a basic compost bin or even a pile will do.
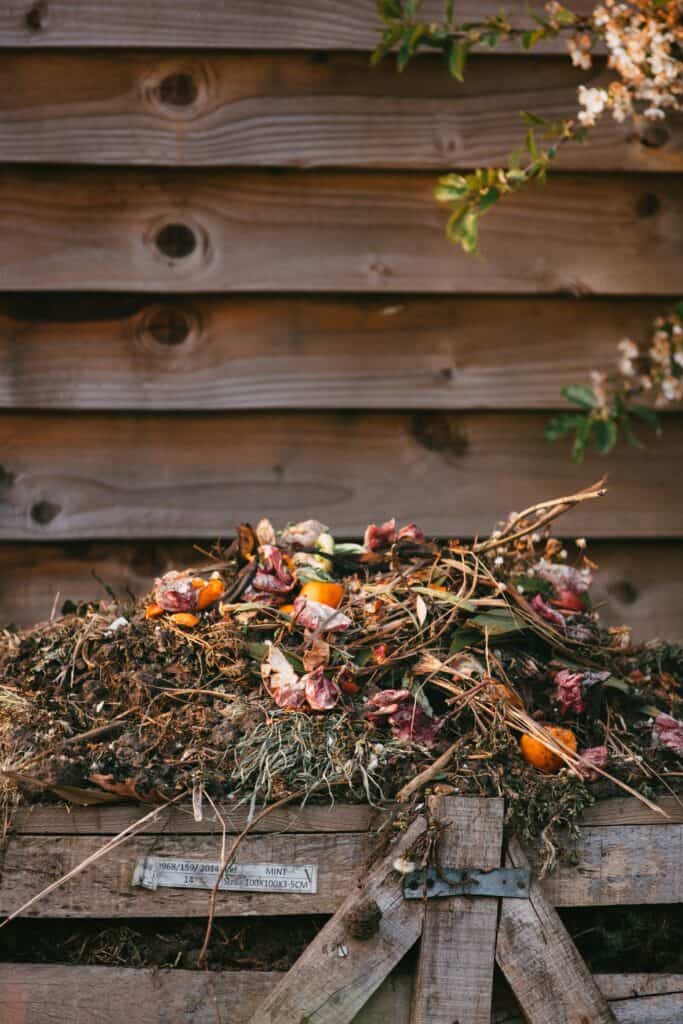
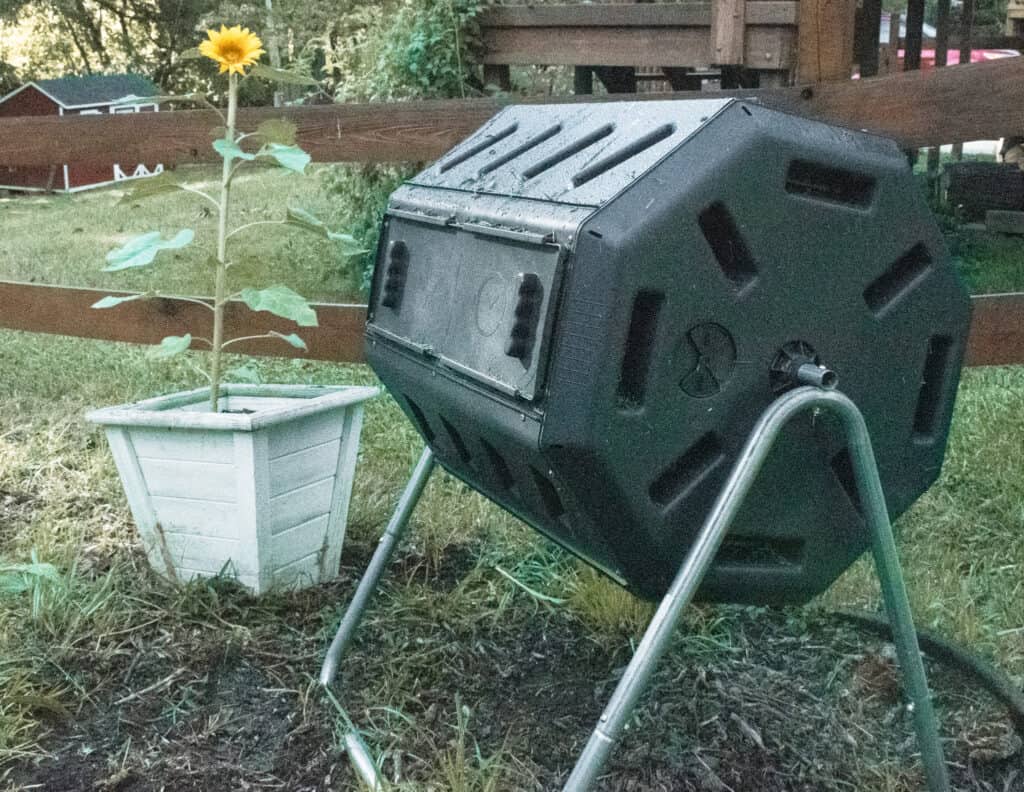
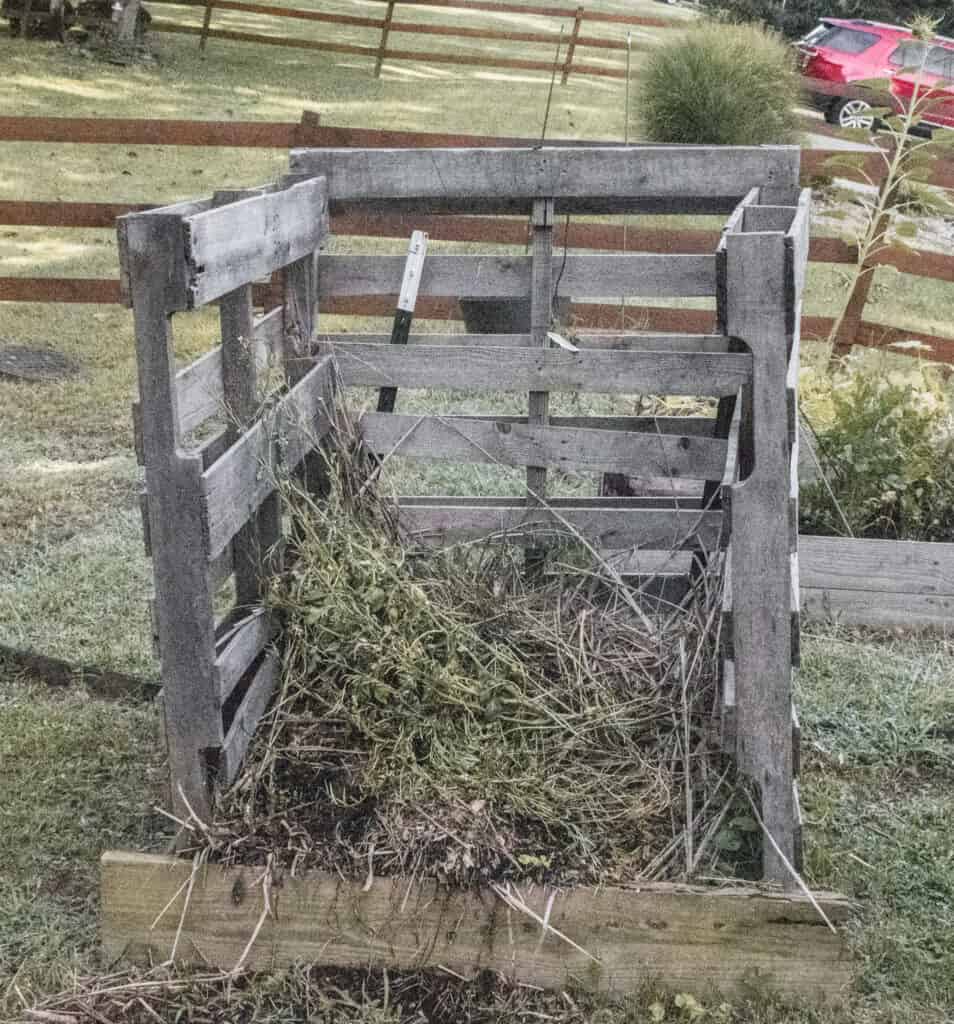
I have two composting solutions in my garden. The first is a tumbler. The shape and design make it easy to turn your mix frequently, and the dark color draws heat to warm your scraps. (You can find a similar tumbler-style compost bin here.) The second method I use is just 3 pallets I connected with brackets and an old piece of wood. My grandfather just had a large heap he turned occasionally with a pitchfork. Any of these methods will work!
Next, collect kitchen scraps like vegetable peels and coffee grounds, along with yard waste. Mix them together, let time do its thing, and soon you’ll have nutrient-rich soil to enhance your garden. It’s an easy, rewarding way to reduce waste and nurture your plants naturally.
Types of Compostable Materials
Composting is a natural process that transforms various organic materials into nutrient-rich soil, and the key to success lies in the ingredients you choose. When it comes to composting, think of two main categories: green materials and brown materials.
Green Materials
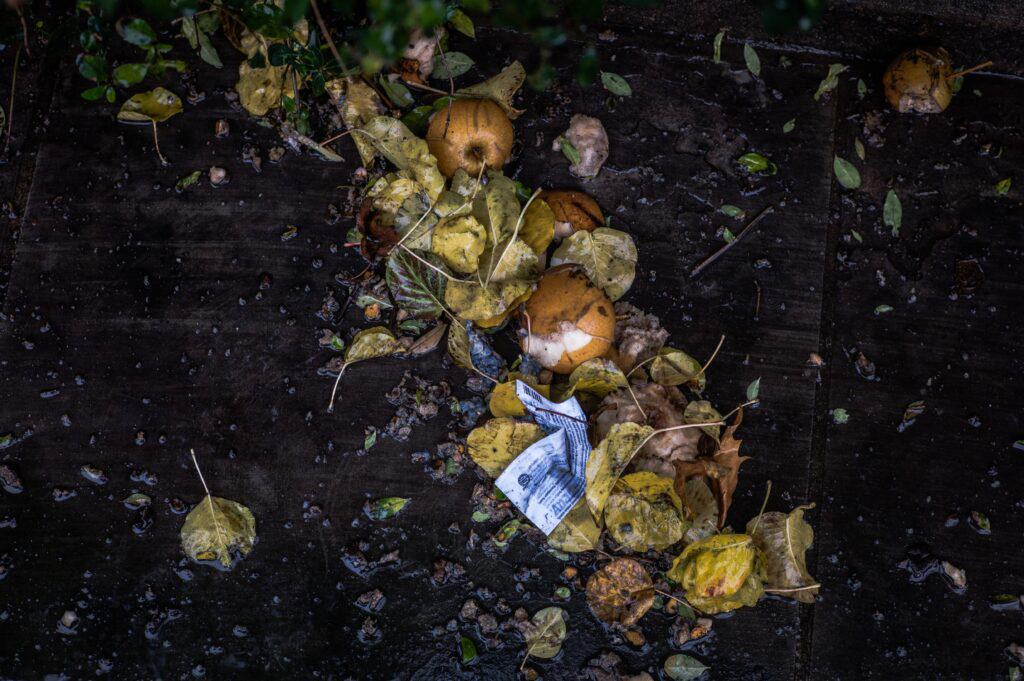
These are the nitrogen-rich goodies that add moisture and essential nutrients to your compost pile. Kitchen scraps like fruit and vegetable peels, coffee grounds, tea bags, and eggshells are perfect green ingredients. Yard waste such as freshly cut grass, plant trimmings, and weeds without seeds can also be tossed in. Just remember, the smaller you cut or break down these materials, the quicker they’ll break down in the compost.
Brown Materials
Brown materials, on the other hand, are the carbon-rich components that provide structure to your compost and balance out the moisture from the greens. This includes things like dry leaves, straw, shredded newspaper, and cardboard. You can even add small branches or wood chips to the mix. As with green materials, the smaller the pieces, the faster they’ll decompose.
Composting Techniques
Composting might sound like a complex endeavor, but don’t worry – there are various techniques to suit your style and space. One common approach is the pile method, where you simply create a pile of compostable materials in a designated spot. Turn the pile occasionally to aerate it and help the breakdown process.
If you’re looking for a tidier option, compost bins are your best bet. These containers help contain the composting process and maintain a neater appearance. You can choose from ready-made bins or create your own using materials like wood or wire mesh.
For those limited on space, vermicomposting is an excellent choice. This involves using worms to break down your kitchen scraps, and it’s perfect for apartment dwellers or small yards. A worm bin can fit in a corner of your kitchen or on a balcony, offering an efficient and odor-free way to compost.
No matter which technique you choose, remember the basics: a good mix of green and brown materials, occasional turning or aerating, and some patience. As a beginner, experimenting with different techniques can be a fun and educational journey that leads to healthier gardens and a reduced environmental impact.
Step-by-Step Guide to Composting
Choose a location
Select a well-drained spot in your yard for your compost pile or bin. It should be convenient to access but not too close to your home. I recommend a location that receives some sun, as heat will help to break down your materials.
gather materials
Collect a mixture of green and brown materials. Green materials include fruit and vegetable scraps, coffee grounds, and grass clippings. Brown materials consist of dry leaves, cardboard, and newspaper. I recommend crushing or chopping egg shells and citrus peels before tossing into the compost pile as they can take a long time to break down.
build the base
Start with a layer of coarse materials like small branches to aid airflow. Then, alternate between green and brown materials in thin layers.
maintain balance
Keep a good balance between green and brown materials for proper decomposition. Aim for roughly equal amounts of each.
add water
Moisten the pile as you build it. It should feel like a damp sponge. Too wet or too dry can slow down the process.
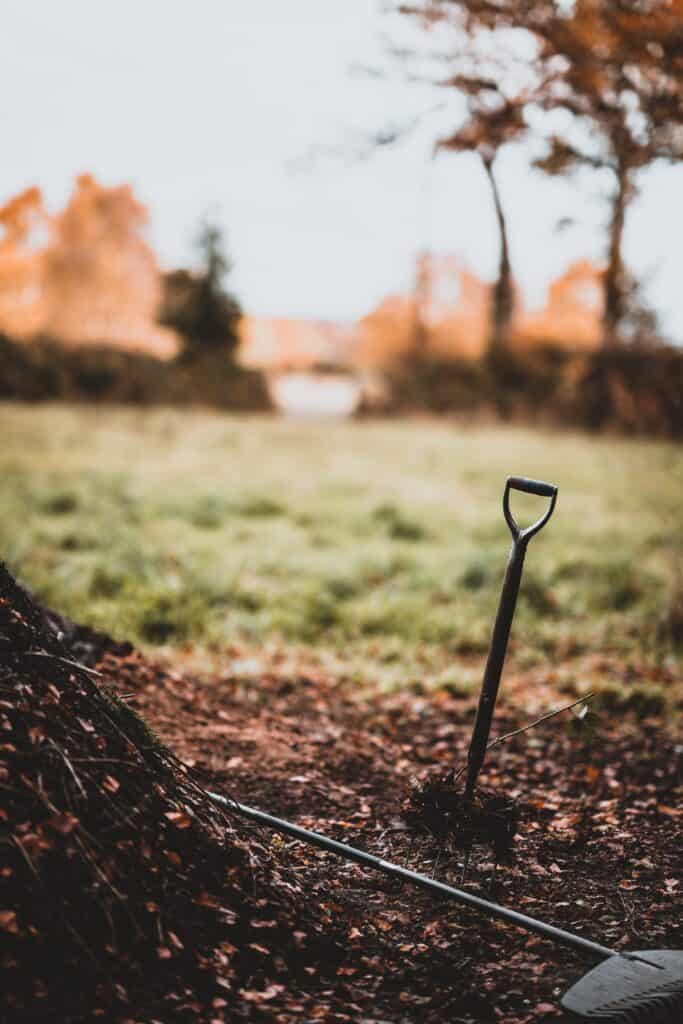
turn the pile
Every few weeks, use a pitchfork or shovel to turn the pile. This helps to aerate it and speeds up decomposition.
be patient
Composting takes time. Depending on the materials and conditions, it can take a few months to a year for the compost to be ready.
use your compost
When the compost is dark, crumbly, and smells earthy, it’s ready to use. Mix it into your garden soil to enrich it with nutrients.
avoid certain materials
Skip adding meat, dairy, oily foods, and weeds with seeds. These can attract pests or slow down the process.
Troubleshooting
Composting can sometimes hit a snag, but don’t worry – troubleshooting is all part of the learning process. If your compost pile smells bad, it’s likely too wet or lacks enough airflow. Simply add more brown materials and turn the pile to boost aeration. If the pile isn’t breaking down, it might need more green materials or regular turning. Remember, composting is a journey, and a little adjustment can go a long way in transforming your kitchen and yard waste into compost for your garden.
Maintaining Your Compost
Keeping your compost pile in tip-top shape doesn’t require a green thumb, just a little TLC. Regularly monitor moisture levels – your pile should be damp but not soggy. If it’s too dry, add water; if too wet, mix in dry materials like leaves. Every few weeks, give your pile a gentle turn to introduce oxygen and speed up decomposition. Remember to balance green and brown materials as you add to the pile. With these simple steps, your compost pile will turn scraps into garden gold.
Harvesting and Using Compost
The moment of reward arrives when your compost turns into dark, crumbly soil – a testament to your efforts. To harvest, simply remove the finished compost from the bottom of the pile or bin. It’s full of nutrients for your garden! Mix it into your soil to enhance its structure and fertility. Your plants will thrive on this natural goodness, and you’ll relish in the satisfaction of transforming waste into a valuable resource.
Embracing a Greener Lifestyle
So, there you have it – your composting journey has begun! Who knew that gross banana peel could lead to such greatness? By diving into composting, you’re not only growing better tomatoes; you’re embracing a greener, more sustainable way of life. As you watch those scraps turn into rich soil, let it be a reminder that every small effort counts. You can find more homesteading ideas here.