How to Ferment Garlic in Honey
A Step-by-Step Guide
For home cooks and homesteaders, fermented foods are making a huge comeback as a time-honored food preservation method because of its positive impact on gut health. I’m so excited to guide you through the step-by-step process of how to ferment garlic in honey.
Health Benefits of Garlic and Honey
Garlic is renowned for its immune-boosting properties, attributed to its allicin content, which may aid in combating infections and promoting heart health. Honey, on the other hand, is rich in antioxidants and has antibacterial qualities. When combined, these two ingredients undergo a transformative process that enhances their individual benefits. The fermentation process increases the bioavailability of certain nutrients, making them easier for our bodies to absorb. The resulting elixir offers immune support, aids in digestion, and contributes to overall well-being.
The Science Behind Fermentation
Fermenting food is like a science experiment for our taste buds. Microorganisms such as bacteria and yeast work together to change regular ingredients into something special. They eat sugars and make things like acids, gases, and sometimes even a little bit of alcohol. This special process not only keeps food safe to eat but also makes it taste better and gives it more nutrients our bodies need. These microorganisms do a fantastic job of breaking down tricky parts of food, so our tummies can easily use all the good stuff.
Necessary Equipment and Ingredients
- A clean, sanitized jar with lid. (I love these BPA-free lids from Amazon.)
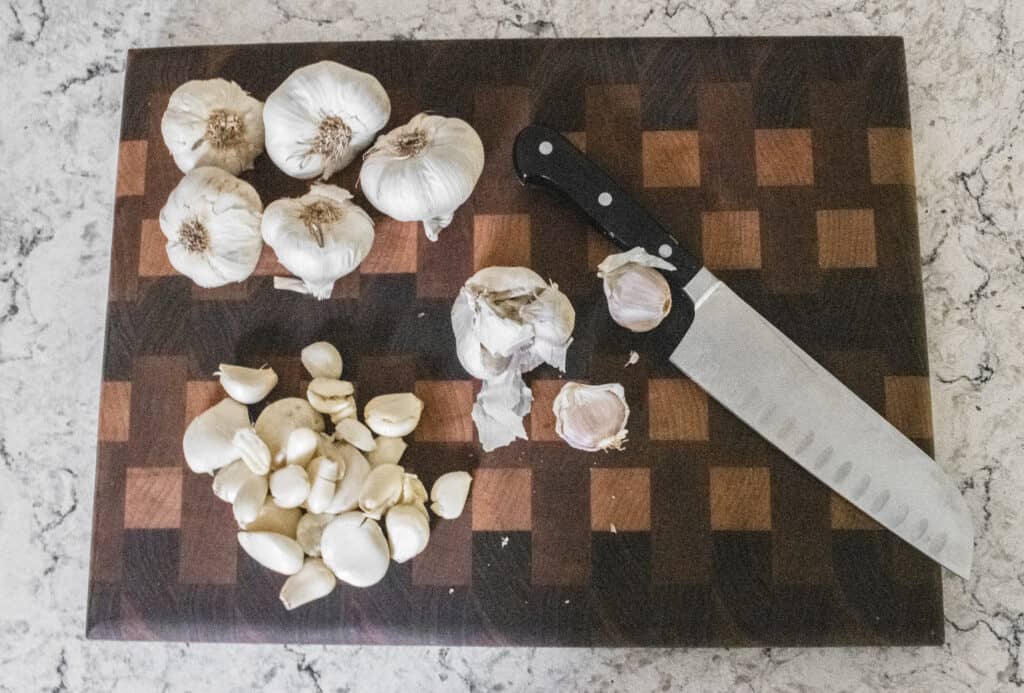
- 3-5 heads of garlic, peeled. Alternately you can purchase pre-peeled garlic.
- Raw, organic honey.
- A glass fermentation weight, if desired. If you use enough honey it is not be required though.
- A knife and cutting board.

Step-by-Step Guide: How to Ferment Garlic in Honey
- Choose firm, plump garlic bulbs with tight, dry skin, a pungent aroma, and dry papery stems for the highest quality. This fall I’ll be planting garlic in my Victory Garden!
- To peel and separate garlic bulbs, gently apply pressure to each clove with the flat side of a knife and then remove the skin, allowing the individual cloves to easily separate.
- When selecting honey for fermentation, opt for raw only, as it retains more of its natural enzymes and beneficial compounds, which can contribute to a successful fermentation process. Consider choosing locally sourced honey to support local beekeepers.
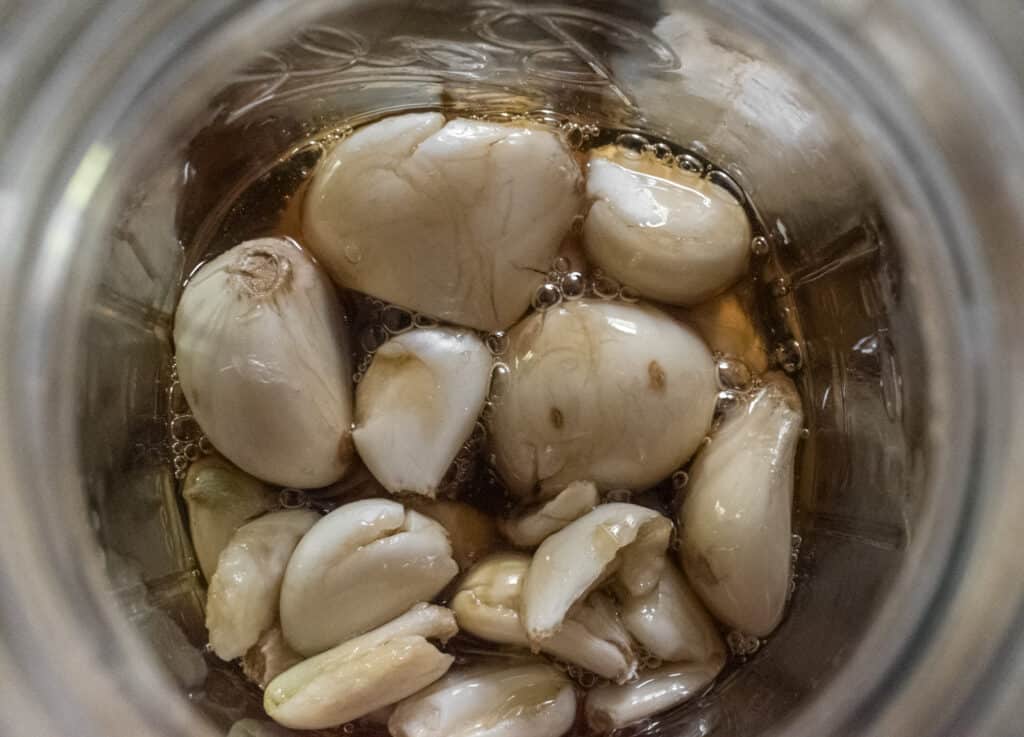
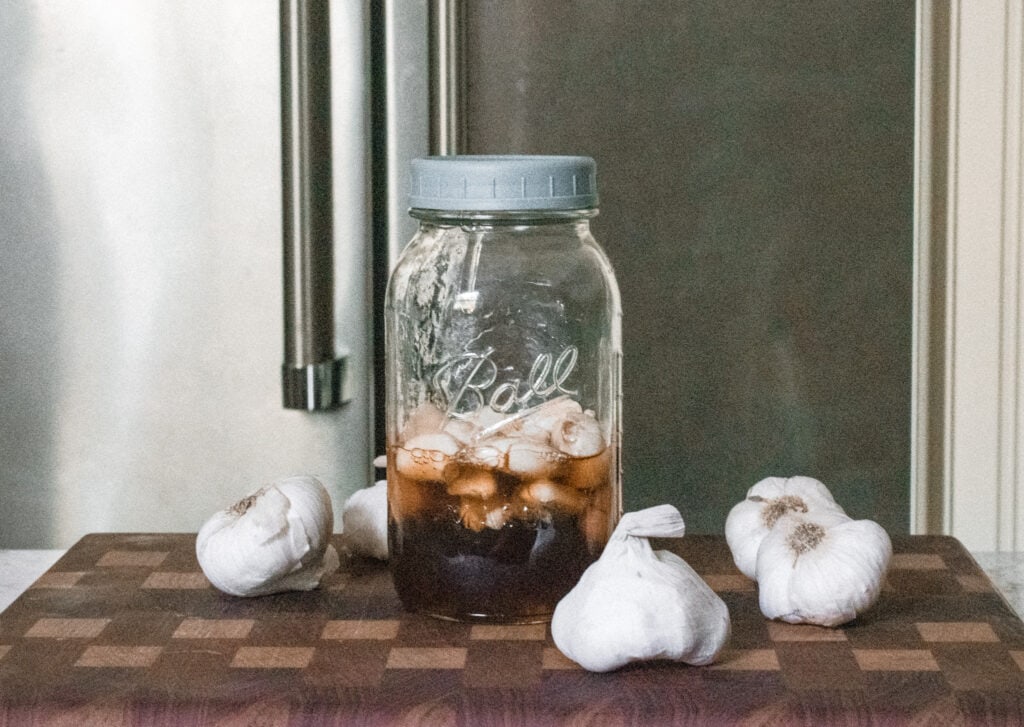
- Place your peeled garlic cloves into a clean, sterilized jar. Completely cover with honey and stir to distribute. Tap the jar to remove air bubbles and add more honey, if necessary. Additionally, it is important to ensure that your garlic is completely submerged to avoid spoilage. Your concoction will be very thick at first, but as it ferments it will become significantly more runny. Be sure to leave several inches empty at the top of your jar to allow for fermentation expansion. Otherwise you’ll have a sticky mess under your jar!
- Add optional ingredients, if desired. Herbs, lemon, or ginger can be added for additional flavor and health benefits. You can also add some crushed red pepper flakes for spice.
- The optimal fermentation period for garlic in honey is at least 2 to 4 weeks. You should regularly perform taste checks to achieve the desired flavor profile, and refrigeration should be initiated once the preferred taste is attained. I continue to store mine in the pantry for up to 6 months, but we normally use before then.
Please Note:
- You might notice a subtle change in color, with the garlic cloves becoming slightly translucent and taking on a golden hue. These visual cues, along with a transformation in flavor from pungent to more mellow, signify the achievement of a successful fermentation process.
- To ensure the longevity of garlic fermented in honey, store the mixture in an airtight glass jar or container and keep it in the refrigerator after fermentation is complete. The cold temperature helps to slow down the fermentation process and preserves the quality of the infusion. Properly stored, fermented garlic in honey can be enjoyed for several months, with flavors continuing to evolve over time.
Culinary and Health Applications
The uses of fermented garlic in honey are wonderfully versatile. Culinary enthusiasts can add this delicacy to recipes, like salad dressings, marinades, or sauces, to infuse dishes with a unique sweet-savory flavor. I like to drizzle over stir fried veggies and meat. Be sure not to cook it as the heating process will kill the beneficial yeast and bacteria.
The concoction’s potential as a natural remedy shines through its reported antibacterial properties, making it a delicious immune booster and sore throat soother. A spoonful each day will support immunity, and twice a day at the first signs of a cough or sore throat will help stave off ailments. Eating one of the fermented garlic cloves an hour or two before going outside will also help deter mosquitoes.
This potent elixir is not only delicious but is also a fantastic immune booster. What an easy way to dip your toes into holistic medicine!
