How to Care for Gifted Sourdough Starter
Remember this post where I recommended learning sourdough? Since then I have given away sourdough starter to several friends. Have you been gifted some sourdough starter and have no idea what to do with it? This post is for you! Today I’m sharing the exact steps to care for your sourdough starter that will take you from a bag full of beige goo to delicious sourdough bread.
What is Sourdough Starter?
Did you ever wonder how people baked fluffy bread before the days of dried yeast in the grocery store? They used sourdough starter! A starter is a mixture of flour and water kept at room temperature and allowed to ferment. The fermented flour captures natural yeast in the air and makes it possible to bake bread without using packaged yeast. Sourdough also has a delicious sour flavor that is unlike traditional yeast bread.

What is the Benefit of Using Gifted Sourdough Starter?
You could start your own sourdough starter from scratch by mixing flour and water and discarding/ feeding each day. But getting a starter going that is strong enough to bake a loaf of bread could take weeks or months. The benefit of using a gifted starter is that you instantly have a strong starter that can be used to bake sourdough bread almost immediately.
How Do I Care For My Gifted Starter?
Housing Your Sourdough Starter
First you will need a large jar to keep your starter in. I recommend quart sized or larger to start with. Your sourdough starter will double in size (or more), so be sure to give it plenty of extra room to grow.
You’ll also need a cover for the top of the jar. Do not use a screw-on lid as fermentation gasses can build up and can break the jar. I recommend these Weck jars as the glass lids sit on top and allow gasses to escape. Any glass jar can work if you cover it using a coffee filter secured with a rubber band.

How to Feed Your Sourdough Starter
Your sourdough starter will need to be fed each day. You can use any unbleached flour, and I recommend a non-GMO variety. I use King Arthur all purpose flour. Whole wheat, rye, spelt, or any other variety can also be used. You’ll also need filtered room temperature water. The water must be filtered as tap water contains chlorine that will stunt your starter.
Day 1: Place a couple of tablespoons of sourdough starter in your large jar. If it’s in a bag, simply snip off a corner and squeeze the starter out. Then add 3/4 cup of unbleached flour and 1/2 cup of filtered water. Stir with a non-metal utensil. I recommend using a wooden spurtle like this one. The mixture will be similar to thick pancake batter but will thin out as the mixture ferments. Once everything is mixed, loosely cover and place on the counter in a warm spot. My house is quite cool in the winter, so I store my sourdough starter in the oven (turned off) with only the light on. This creates the perfectly warm environment for my starter to ferment and get ready to bake.
Day 2: After your sourdough starter has been fermenting for a day, you’ll need to feed it. Discard half of the mixture in the jar, and replace it with 3/4 cup of flour and 1/2 cup of water. You’ll need to do this each day going forward. Every day, discard half and feed with flour and water.

What if I Don’t Want to Feed My Starter Each Day?
If you’re not baking with your sourdough regularly, you don’t have to feed it each day. Simply add a tight lid and refrigerate. Refrigeration will significantly slow the fermentation process and allow the starter to rest until you are ready to bake with it again. Bring your starter out to feed it every couple of months if possible.
What if I Don’t Want to Throw Away My Discard?
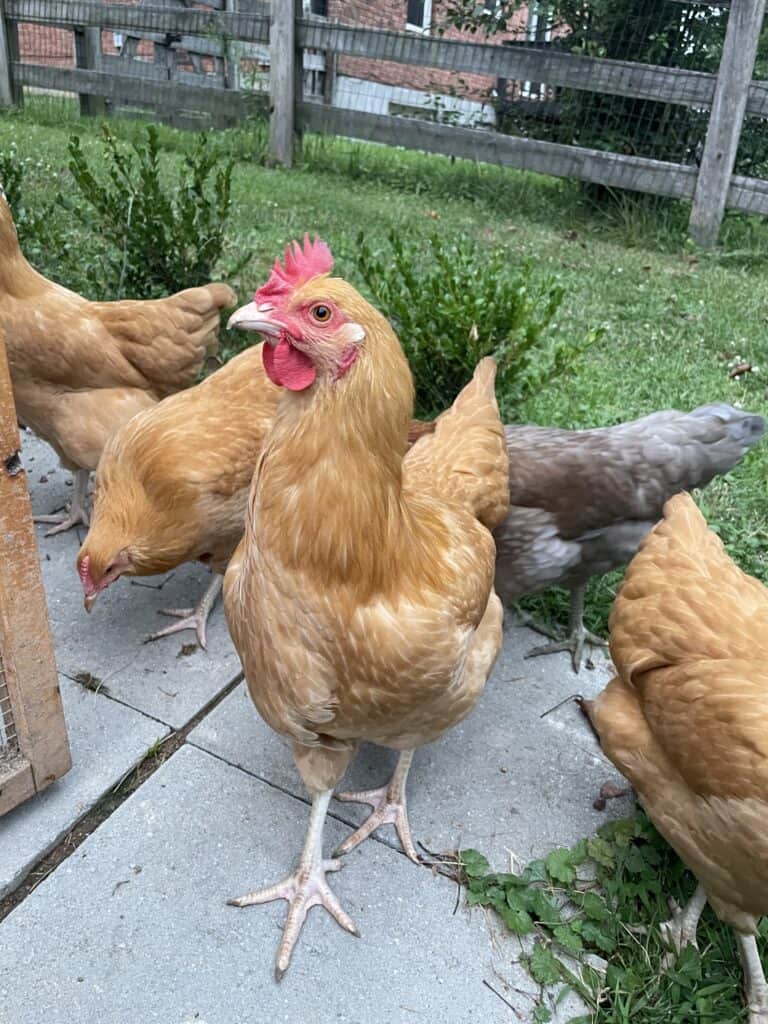
Your sourdough discard doesn’t have to be thrown away! It is full of beneficial probiotics and there are lots of things you can do with your discard. If you are baking with your sourdough, the starter that goes into your dough will serve as your discard for that day. There are lots of recipes online for sourdough discard from crackers to brownies. I even feed my starter to my chickens occasionally for an extra boost of probiotics.
What if I Receive Sourdough Starter and I’m Not Ready to Begin Feeding it Immediately?
If you receive a sourdough starter but need time to get your implements together, simply put the starter in the refrigerator until ready for use. It can be housed in the refrigerator indefinitely if you take it out to feed it every couple of months.
What if My Sourdough Starter Looks or Smells Funny?
If your sourdough starter has been neglected (in or out of the refrigerator), it might start to become discolored or take on an odor similar to vinegar, acetone, or alcohol. It could have a layer of dark liquid on top or could be very dry. If this happens, your starter is hungry and has over-fermented. The liquid is likely hooch and should be poured off the surface of the starter. Then simply feed your starter and either refrigerate again or leave out to ferment.
If your starter is very dry, scrape as much out as you can and rehydrate with a little bit of distilled water. Don’t forget to feed your starter with flour!
When is my Sourdough Starter Ready for Baking?
When your sourdough starter is strong, you can begin baking sourdough bread with it. Here are the characteristics of a strong sourdough starter:
- Starter is bubbly and visibly active.
- Starter doubles every 12 hours or less. (Use a wet erase marker on your jar after feeding, or slip a rubber band around the jar to mark where your starter sits in the jar.)
- It smells strongly of slightly sour yeast.
- If all other conditions look good, try the float test. Spoon about a teaspoon of active starter into a glass of water. If the starter floats, it’s ready to bake!
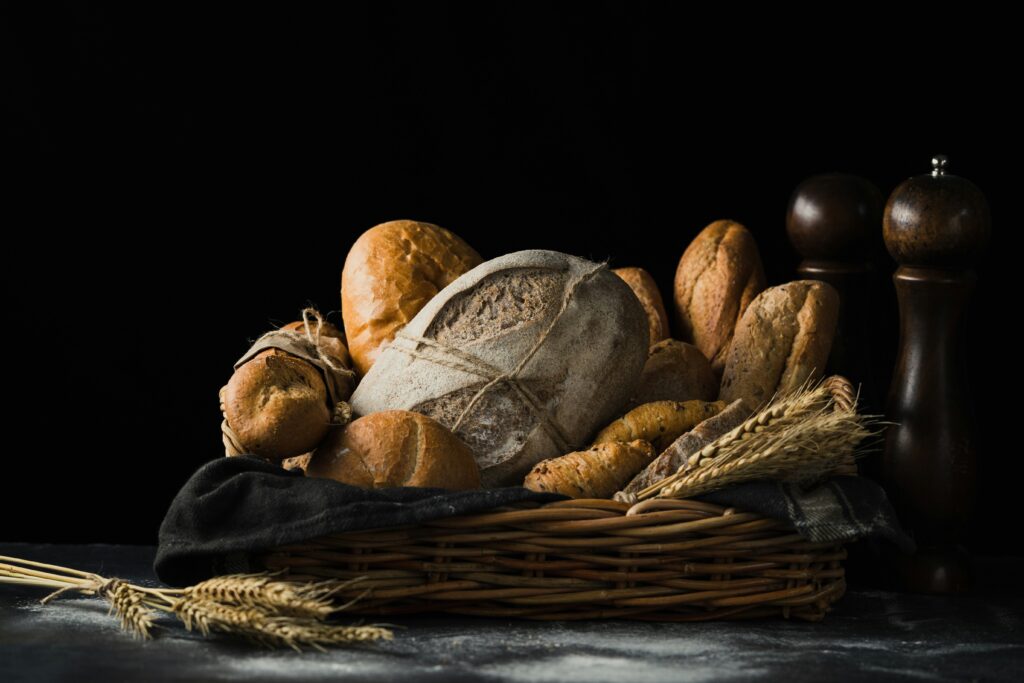
There are many others who are better at sourdough than I am. I recommend this video when you are ready to learn to bake sourdough bread. Sourdough bread and discard is so fun to bake with and can provide an endless number of meals and desserts. I can’t wait to see where your sourdough journey takes you. I’d love for you to comment below what you’re looking forward to baking!